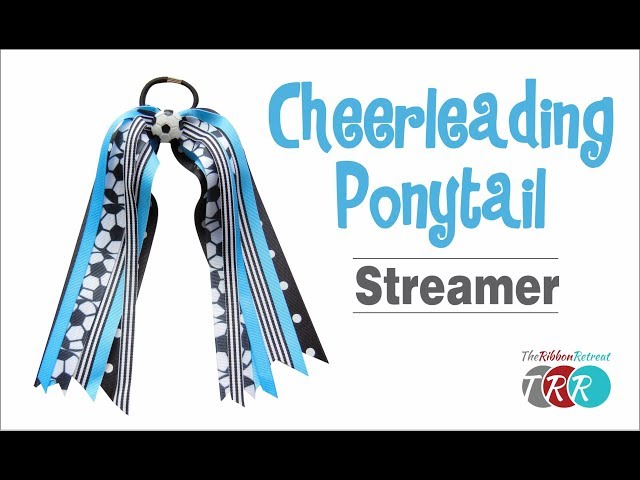
How to Make Sports Hair Bows?
Contents
If you are looking for a fun and easy way to show your team spirit, then you need to learn how to make sports hair bows!
Checkout this video:

Introduction
Most girls who are into sports also like to have their hair styled in a way that shows off their team spirit. One popular way to do this is by wearing a hair bow that matches the colors of their favorite team. If you’re not sure how to make sports hair bows, don’t worry – it’s actually quite easy! With a little bit of practice, you’ll be able to create beautiful hair bows that are perfect for game day.
What You Need
To make most basic sports hair bows, you’ll need the following supplies:
– Ribbon – You can use grosgrain, patterned, or even lace ribbon. The width and style of the ribbon will affect the size and fullness of the finished bow. For a small bow, start with 1/4″ to 3/8″ wide ribbon. For a larger bow, try using 5/8″ to 1″ wide ribbon.
– scissors
– hot glue gun and glue sticks
– lighter or matches (optional)
– Ruler or measuring tape (optional)
Step One: Make the Base
The first step to making your sports hair bow is to create the base. You will need a strip of fabric that is around 4-5 inches wide and 18-20 inches long. The length will depend on how big you want your bow to be. Once you have your strip of fabric, fold it in half long ways and then sew the two long side together with a sewing machine or by hand.
Step Two: Make the Loops
The loops are what make the bow, so take your time and make them as even as possible. You will need three loops for each bow. To make a loop, take the ribbon and make a small circle, then bring the ribbon around and make another small circle on top of the first one. Pinch the center of the two loops together and hold it between your thumb and first two fingers. Take the ends of the ribbon and fold them around behind the pinch (between your fingers), then bring them back up through the center again. Pull gently on both ends of the ribbon to tighten the loop, then slide it off your fingers. Repeat this process two more times to create three loops total.
Step Three: Attach the Loops
Now that you have your loops cut, it’s time to attach them to the ponytail holder. You can use a hot glue gun for this step, or if you are working with small children, you can use a low-temperature glue gun. Put a small dot of glue on the top center of each loop and press it down onto the top of the ponytail holder, making sure that all of the loops are facing the same direction.
Step Four: Finish the Bow
Now that you have the basic shape of the bow, it’s time to finish it off and make it look nice. You can do this a few different ways, but the most common way is to take a piece of ribbon and tie it around the center of the bow. This will give it a nice, clean look and keep all the pieces together.
Tips
1.Start with the right size ribbon. The width of the ribbon will determine the size of the bow. For a small bow, use 3/8-inch wide ribbon; for a medium bow, use 5/8-inch wide ribbon; and for a large bow, use 7/8-inch wide ribbon.
2. Cut a length of ribbon twice the length of the desired finished bow plus 1 inch. For example, if you want a 4-inch finished bow, cut a 9-inch piece of ribbon.
3. Fold the ribbon in half to find the center point and make a small loop, holding it between your thumb and first 2 fingers.
4. Wrap one side of the ribbon around the center loop and pull it through to make a second loop on one side of the center loop.
5. Wrap the other side of the ribbon around the center loop and pull it through to make a third loop on the other side of center, making sure that all three loops are even in size. You now have 6 loops around your fingers—3 on each side of your thumb—with one longer tail hanging off each side (this will be used to secure the hairbow in place).
6. Hold on to all 6 loops with one hand and use your other hand to thread each long tail through its corresponding loop on the opposite side (one tail through 3 loops, then the other tail through its 3 loops).
7.Gently pull all 6 loops away from your fingers until they are tight against each other in the center, forming a small knot.
Conclusion
Thank you for following our tutorial on how to make sports hair bows! We hope you enjoyed it and found it helpful. As always, if you have any questions or comments, feel free to reach out to us. Until next time, happy crafting!